Extracted from Unfiltered #71
Words: Lee ‘Connas’ Connor
In the long history of making whisky, it’s fair to say that — in terms of flavour creation — the importance of the vessels in which we mature the spirit has been overlooked until relatively recently. The terms “wood policy” and “cask finishing” may now be commonplace, but they were only born out of greater understanding of the complexities of the effects that casks have on flavour in the last 50 years. The size, oak species, prior fillings, number of uses, of the casks — even the temperature and humidity of where they are stored — has been proven to have an impact on the eventual whisky. Although they come in many shapes and sizes, casks are all made using a similar process, as Lee ‘Connas’ Connor explains.
Raw material
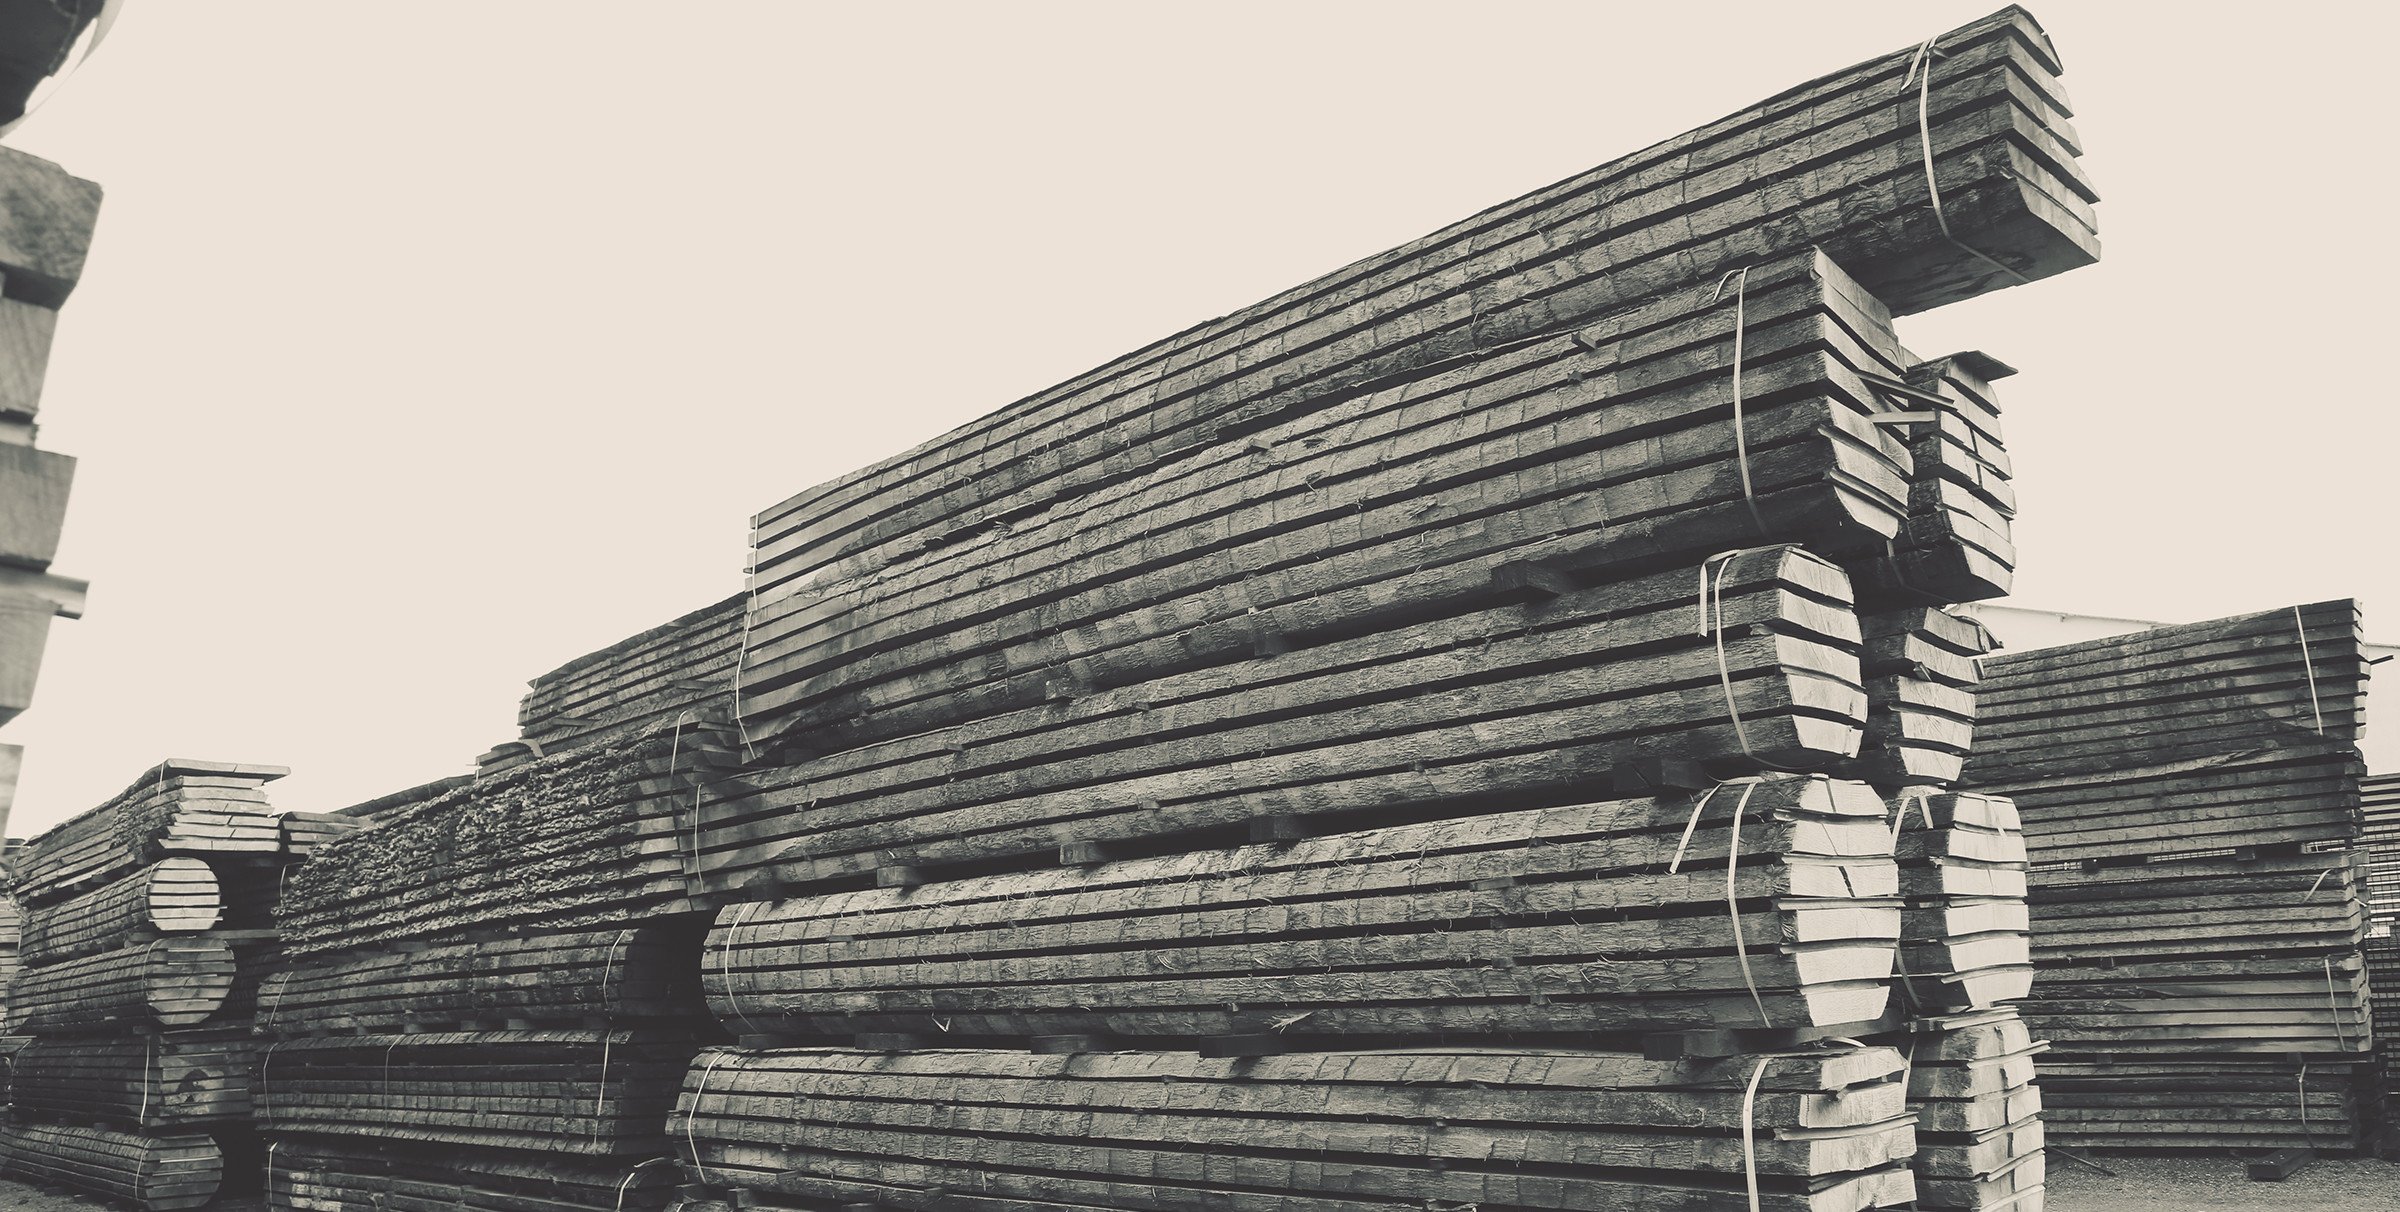
Oak is the perfect wood for whisky casks, and the condition of the timber governs the quality of the finished product. A tight grain is fundamental to the quality of the finished cask. If European oak is chosen, it is cut to stave length and then split lengthwise, while American oak (due to its individual grain) is quarter sawn lengthwise. The wood is then sorted by thickness, and the staves are left outdoors for two to three years to allow the moisture from the oak to evaporate, and anything unwanted in the wood to break down.
Assemblage
At the cooperage the rough staves are then cut to size, shaped to a rounded curve on the outside and slightly hollowed on the inside, then 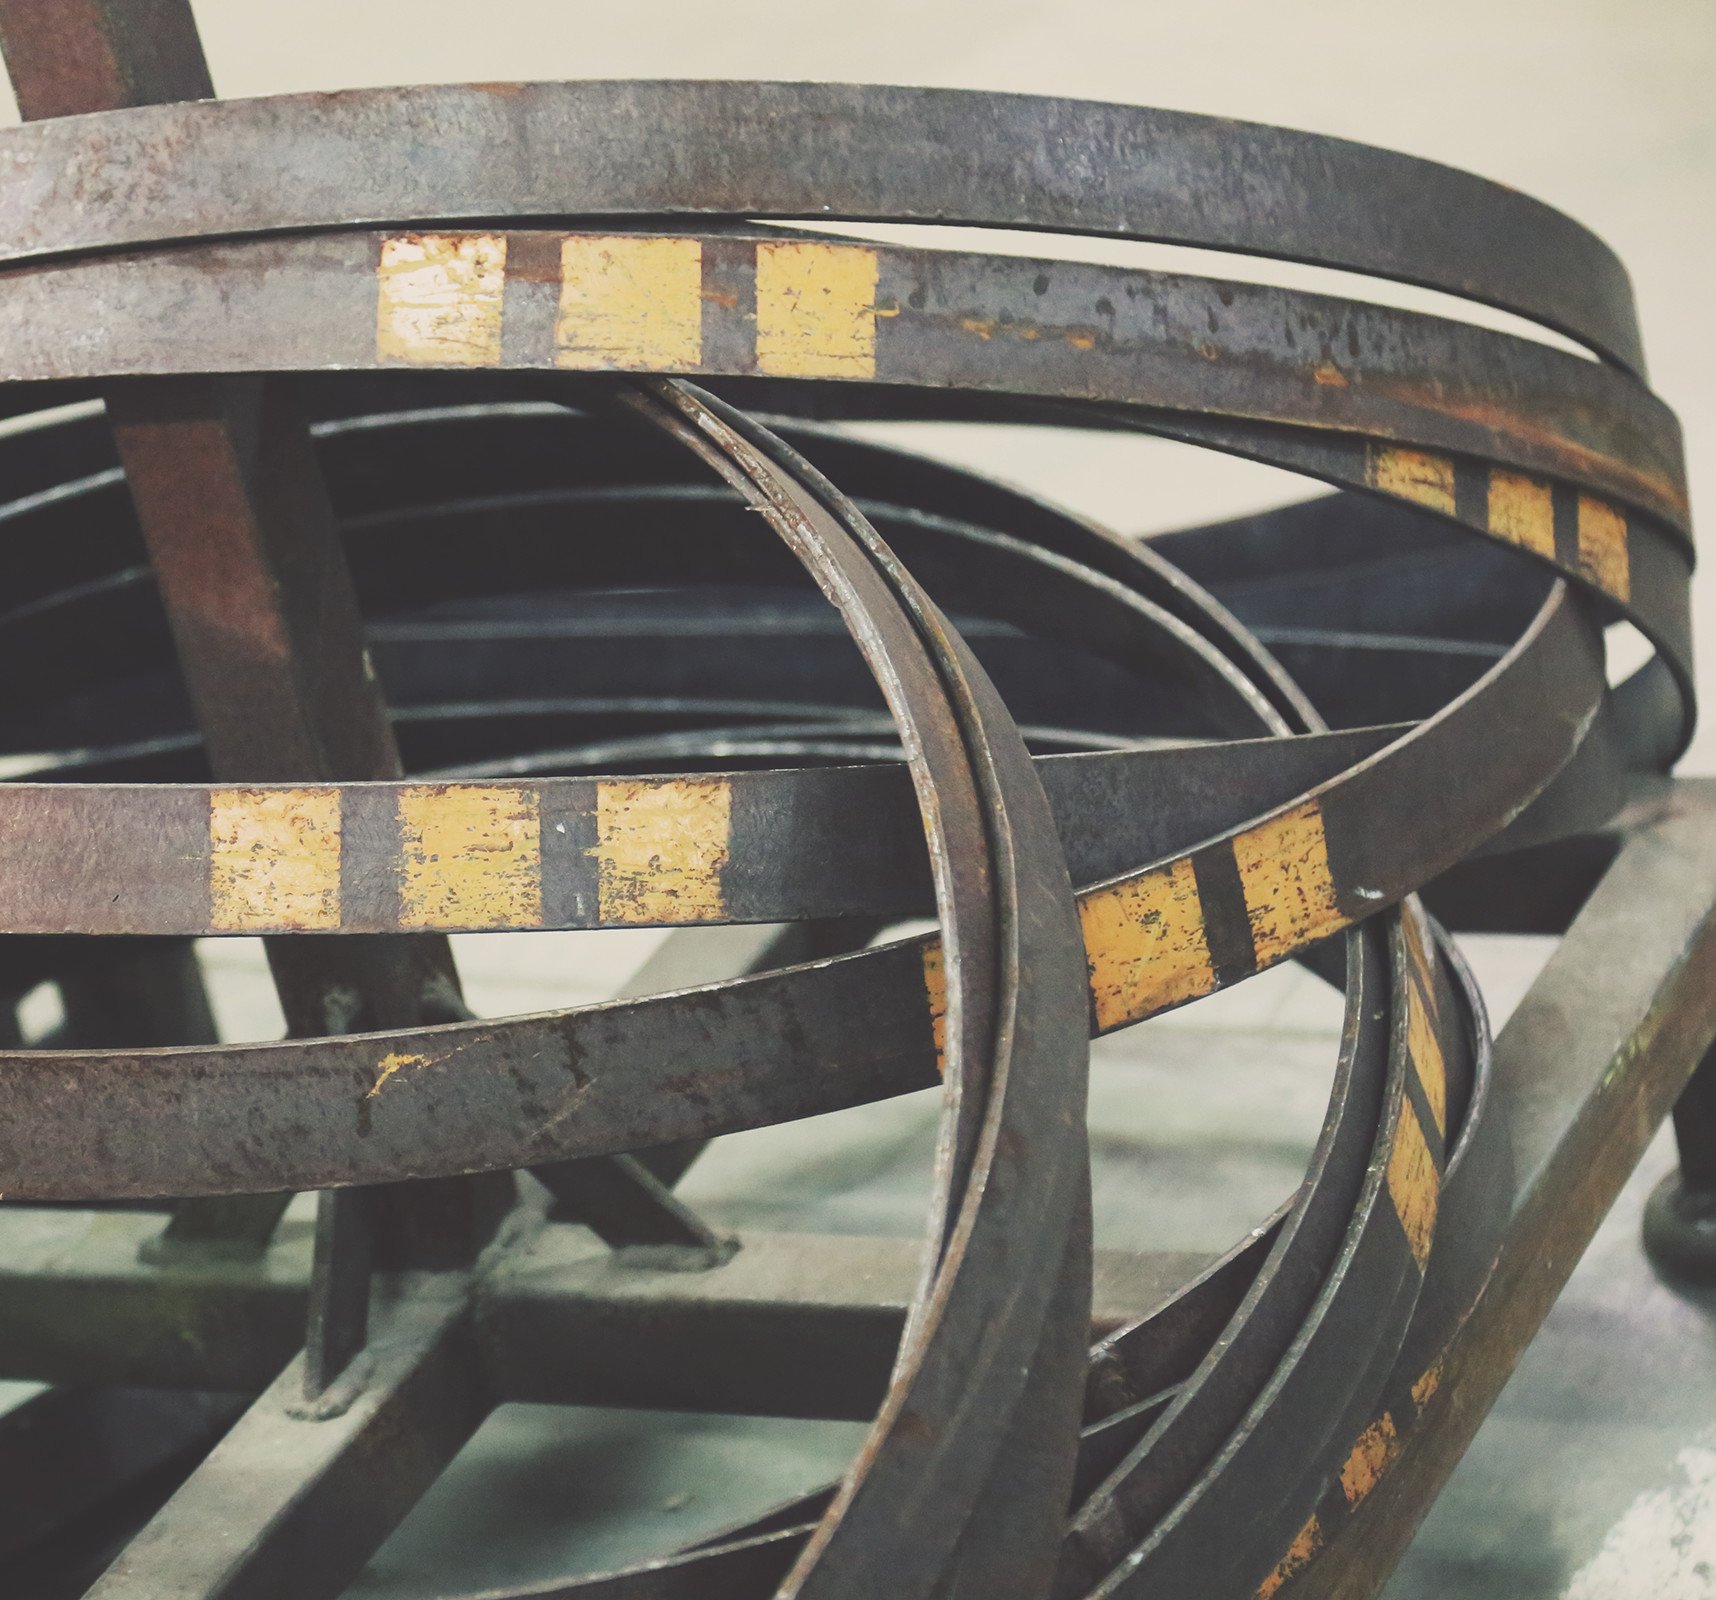 tapered to each end from the middle (which forms the rotund “bilge” in the finished barrel). Their edges are then jointed to a precise angle, so they will fit together flawlessly and remain watertight. The barrel is then raised inside a raising hoop using varying wide and narrow staves to give shape to the cask. The steel truss/toasting hoops are attached to hold the barrel together and form the shape (these are later swapped for iron hoops).
Now the barrel is heated over an open fire, and as the oak begins to steam (water may be added by the cooper) the staves can be bent without damaging them. The separated and open end of the cask is then pulled in using a steel cable around the barrel, squeezing, and bonding the stave joints together so that another truss hoop can be fitted. After toasting or charring on the fire, the inside ends of the staves are each notched at both ends with what’s known as a “croze groove”, leaving a small amount of “chime” protruding.
The next step is the creation and fixture of the heads (ends). Between four and six boards known as the “cant” and “head” are secured together on their edges by dowel pins to form a wide enough piece to cut out each circular head. A “croze bevel” is now formed on the edge of the head which fits into the croze groove perfectly. Now that the heads are fitted, the truss hoops are removed, and the cask is re-fitted with rivetted metal or galvanised iron bilge, quarter, and head hoops using a hammer and driver (a chisel-like tool) to tighten the hoop around the cask.
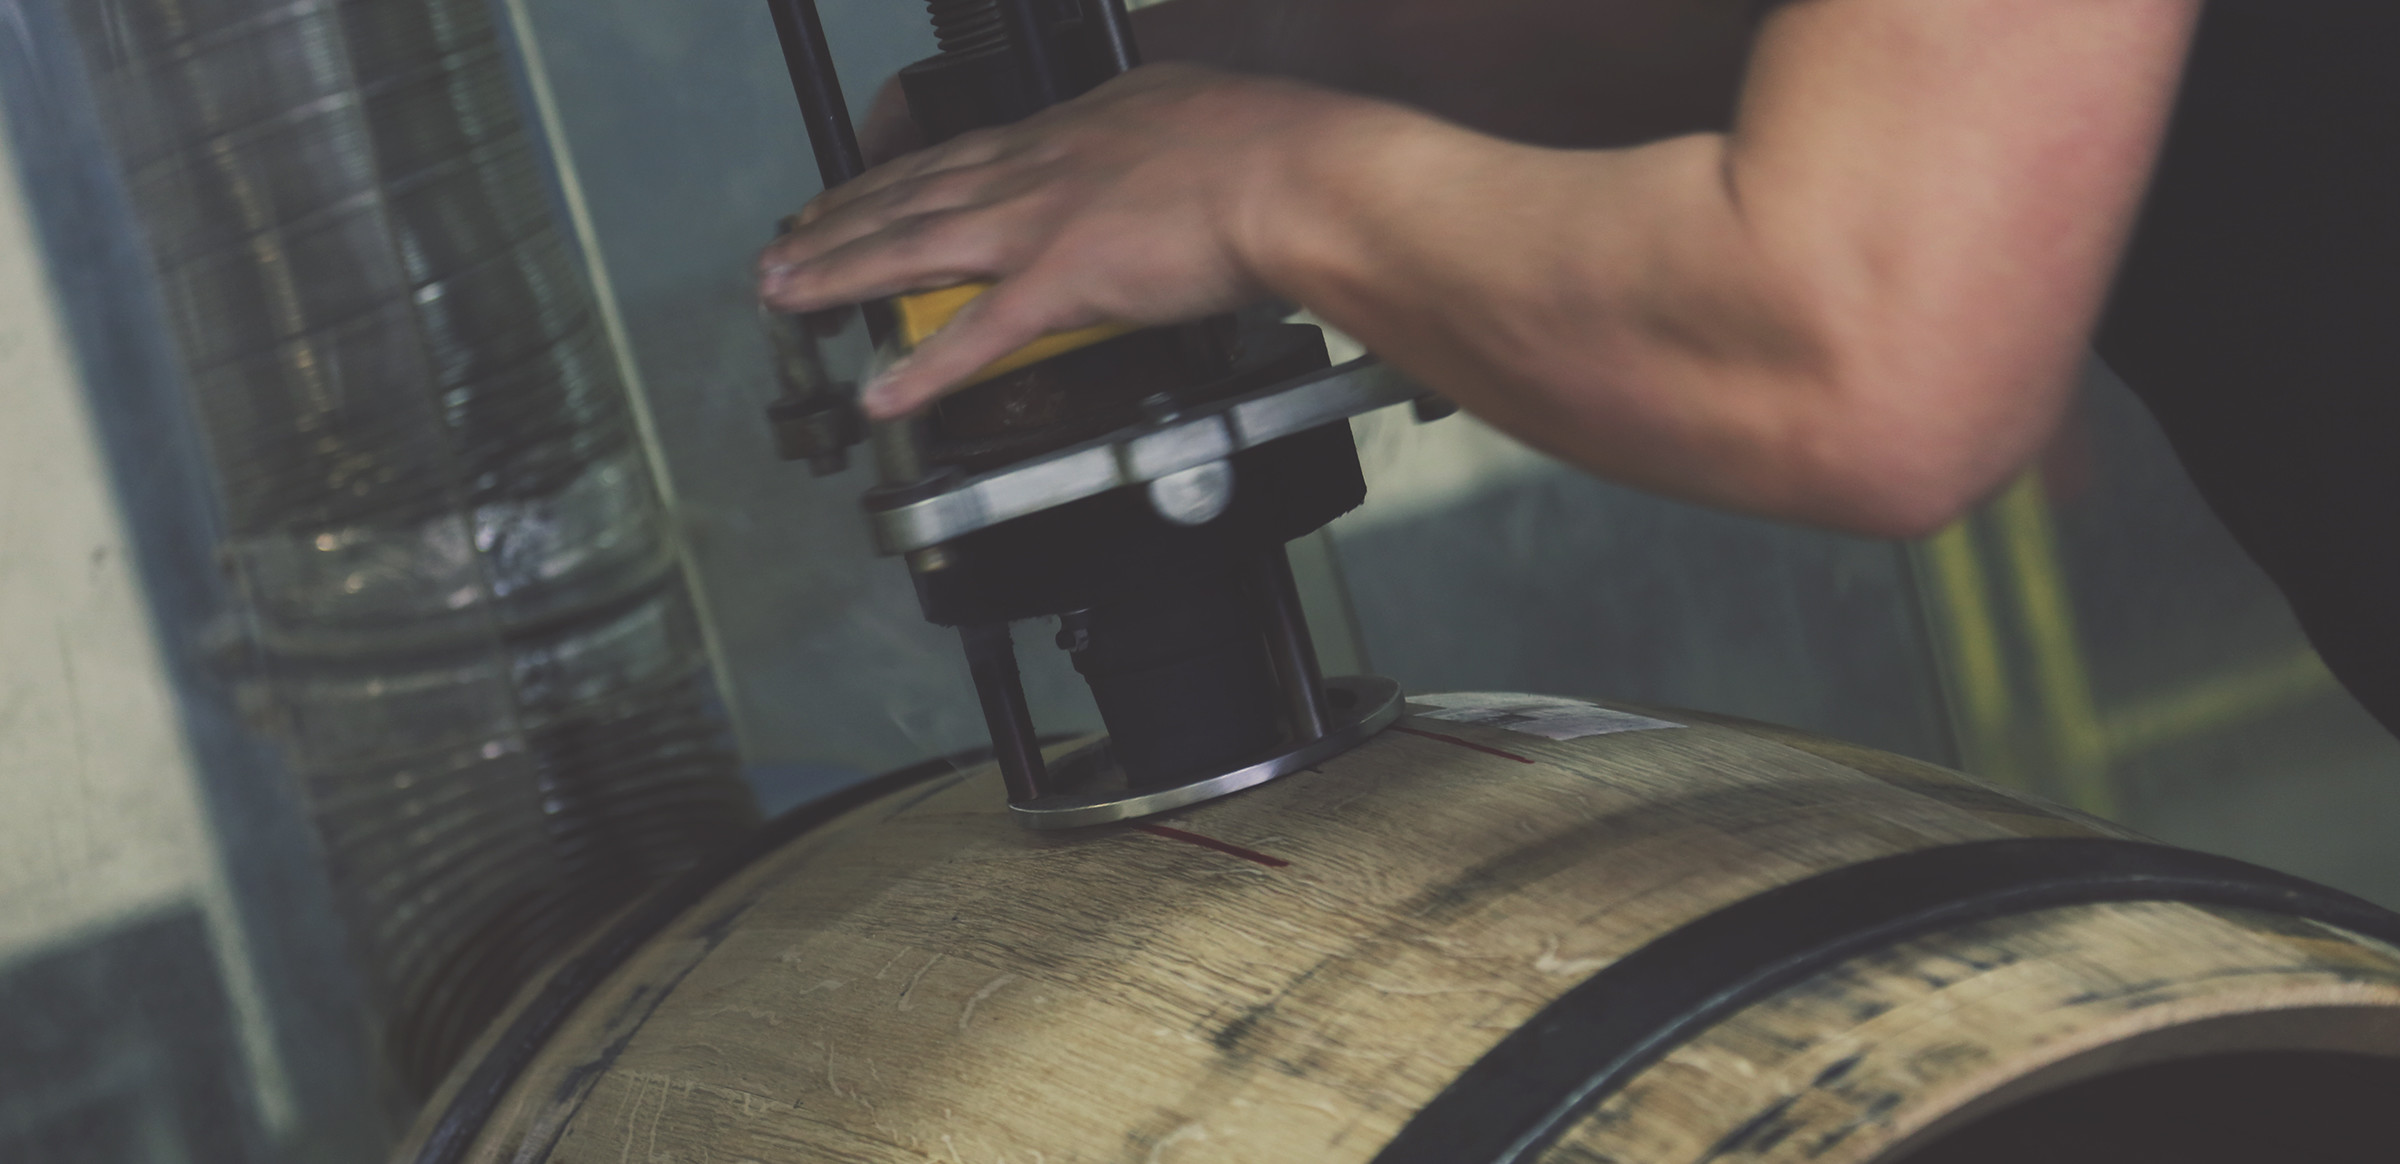
Finally, a bung hole will be bored into a wide stave in the middle of the cask so that it can be pressure tested to ensure it is watertight.
We now have a cask, one of thousands used by distilleries across Scotland. But what attributes do distillers look for when selecting them? We will be exploring this in more detail in coming editions of Unfiltered. Stay tuned!
Unfiltered Magazine is The Scotch Malt Whisky Society’s premium whisky knowledge magazine delivering quality content exclusively to members in an immersive multimedia format monthly. To view Unfiltered #71 in its entirety (as well as all back issues), log in and access the members’ portal or join The SMWS today — the world’s most colourful whisky club.


